DOCUMENTARY POST-PRODUCTION TIPS FOR EDITORS
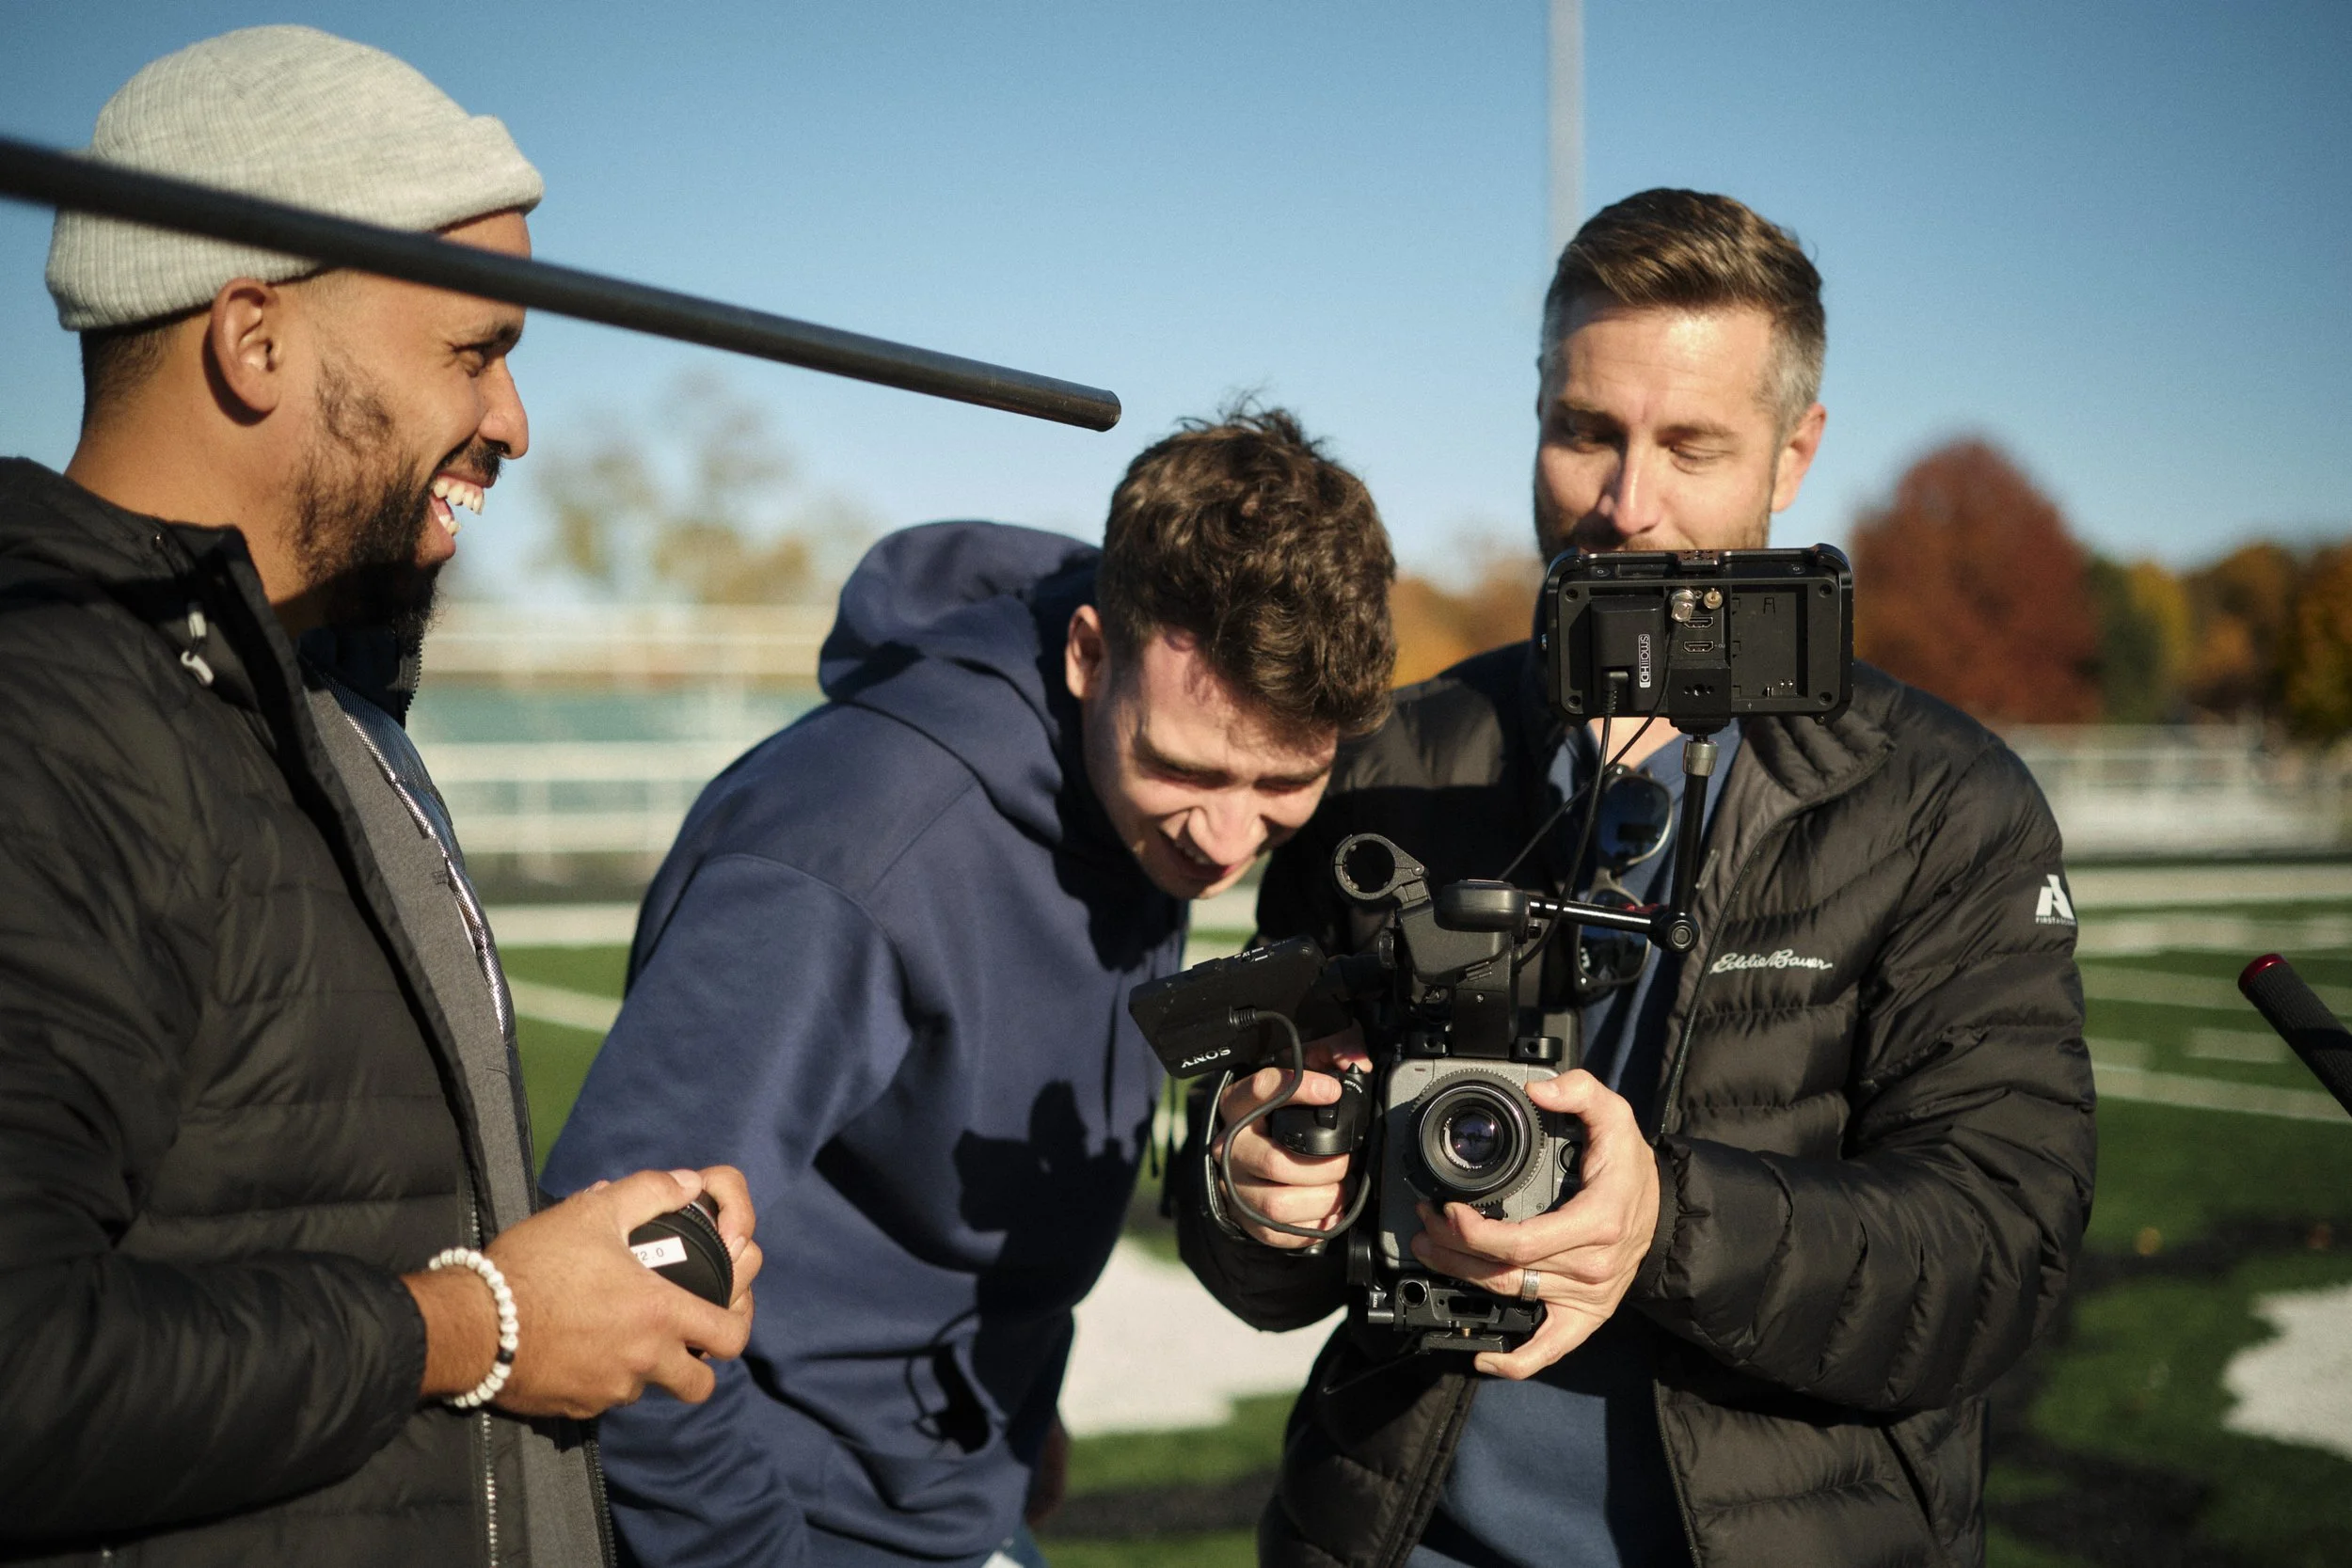
Documentary filmmaking can be challenging for editors - from pre-production all the way to post, synthesizing dense information into your narrative is no easy task - even for veteran filmmakers. Our team happens to love this challenge, and we wanted to share some of our post-production-oriented tips and best practices inspired by a recent documentary project we took on.

The Project In Question
For this particular project, we were approached by SportsGrass, a synthetic turf company. SportsGrass asked us to produce a short documentary about Mogadore, a football-crazed small town in northeast Ohio. What made Mogadore compelling was how central the high school football program was to their community, and how they’ve maintained a tradition of winning state and league championships. Many Mogadorians come from multigenerational football families, and we felt like that kind of small-town pride and legacy was special and rare. So, let’s get into it!
Do Your Due Diligence
For any documentary project you take on as an editor, it’s imperative that you’re at least somewhat involved in pre-production. Whether this means conducting pre-interviews with your subjects, reviewing treatments and storyboards, or simply sitting in on early creative briefs - you’ll want to be involved in some capacity.
For Mogadore, while we were enticed by the framework for the story, we were still looking for the “juice” - and this step was where we found it. While interviewing our subjects during pre-production, we discovered that some time ago, the high school’s athletic field house building was destroyed in a fire. The fire destroyed a lot of their athletic equipment and ruined the irrigation system for their football field. This prompted the school to switch to a turf surface for their field - which is where our client SportsGrass came in. We saw this not only as a dramatic story element but as a way to organically introduce the client’s product. And speaking of product:
Don’t Sell To The Audience!
If your documentary has a product or company at its core, it’s important to strike a balance between “selling” and telling a real, emotional story. Yes, you do want the viewer to walk away at least slightly more interested in the product or the client’s company, but not because they sat through a sales pitch. If done well, your audience will leave feeling like they understand how a product impacted someone’s life in a way that they can empathize with.
Narrative
From pre-production all the way to post, developing and maintaining a narrative is crucial. For our project, we knew we wanted to create something compelling and cinematic that both spoke to the legacy of Mogadore and promoted SportsGrass. To pull this off, we had to do 5 things:
Immerse:
Our Project: Bring the viewer into the world of Mogadore
Your Project: Immersing the viewer is crucial to maintain their interest throughout the runtime of your documentary. You can accomplish this by including B-roll, appropriate music, and effective sound design.
Contextualize:
Our Project: Emphasize the history of the football program
Your Project: Let the viewer know why they should care about your narrative through interviews, graphics, and an effective intro.
Exposition:
Our Project: Present the current team and coach
Your Project: Introduce the primary characters in your documentary, as well as the setting and time period.
Conflict:
Our Project: Reveal the fire and its consequential setbacks
Your Project: If there is a conflict in your story (big or small), be sure to heighten this to ensure the viewer is invested in the story.
Message:
Our Project: Demonstrate how SportsGrass aided in the continuation of this legacy
Your Project: No matter what techniques you employ in post-production, never lose sight of the central message.
North Star
Just as critical as having a narrative to follow is having a “North Star” element as a driving force during the editing process. A North Star is that one “thing”- it could be a phrase, a mantra, or anything that represents the main purpose of your project. This is something that you can return to every time you feel like you’re losing your way in the edit, and it should help you realign your focus. For Mogadore, our editor kept a Post-It note stuck to her monitor for easy and frequent reference.

Project Organization
For this project, our production team came home with 1.6 TB of footage - lucky us! After we offloaded all the footage, our editor began her folder structure within DaVinci Resolve. Organization is critical when it comes to video editing, but that becomes even more important when you’re working on a documentary project that involves days of footage, multiple interviews, music, all that jazz. For this edit, we kept it simple- organizing by footage, audio, assets, and timelines.
Transcription
Once our folder structure was created and all the footage was imported, we transcribed our interviews. We use Descript to transcribe all of our interviews - it’s an incredibly useful tool that allows you to search through your interviews by any word or phrase. You can also highlight phrases with different colors and make notes. Once everything is transcribed, it’s easier to familiarize yourself with your subjects VS. watching the interviews all the way through. However, Descript does not actually integrate with Resolve so you do have to use the programs separately. As long as the video you’ve transcribed corresponds to a timeline inside of Resolve, you can just use the timecode to locate a certain part of your interview. We read through each of the interviews, making note of good quotes and anything else that stood out as a powerful or important line to come back to later.
Interviews
Now you’re ready to organize and cut down your interviews. First, we create Multicam Clips out of each interview since we shot everything with a two-camera setup. If you’re not familiar with Multicam Clips, they allow you to combine two or more video angles into one single clip on the timeline, and you can easily switch between angles.
Once we made Multicam Clips out of each interview, we duplicated them to always have a set of unaltered Multicam Clips for safety. After that, we created sequences for each one and called these Interview Cuts. This is where we made cuts, left markers, and basically did things we wouldn’t do to the original Multicam timelines.
From these timelines we used Descript to help us locate solid interview lines, and pulled those into separate timelines we made for each subject called the Subject Name Selects. This is where we grouped sound bites by theme or subject, which we kept labeled by markers. If for example, we knew we wanted to find a subject talking about how he felt about the fieldhouse fire, we could locate that marker on the timeline, and go through those lines. By the end of this process, we had a separate Selects timeline for each interview subject.
Cuttin’ Up
It was extremely intimidating to try and wrangle 1.6 TB of footage into a cohesive and compelling video. When you’re working on something like this, you kind of just have to chip away at it day by day, and eventually, something that you can start to get excited about will begin to emerge. We started by creating what we call Story Assemblies, and these were just meant to be the roughest outline of the story. We pulled from the Interview Selects timelines to create the general groups of subject matter, and laid these out in the general order that we thought the video should follow.
Once the timeline started to phase out of the Story Assembly mode and take on the shape of a Rough Cut, we started placing sequences into a separate folder and adding B-roll, music, photos, and archival footage. We prefer to keep all of our B-roll selects on one single timeline, loosely in chronological order. This makes it so that you can just scroll through one single timeline when looking for something to pull. Once those roughs started to take on the shape of something close to what we could show the client, we created a Cuts folder and began making color and sound passes. There are probably an infinite number of ways that you can approach organizing and cutting down your documentary interviews, this is just the method that worked for us. As long as you stay organized and keep a nondestructive editing workflow in mind, whatever processes you formulate can work.
Invoking Emotion
We spent a lot of time thinking about how we could take the viewer on an emotional journey because making a documentary about turf grass probably doesn’t sound the most intriguing off the bat, right? Once we had an idea of our characters and the way we were going to construct this story, we focused on shaping the edit in a way that would get the viewer to care about the people in this town and the success of the football team. It’s good to ask yourself, what are the stakes? In the world of your film, what is of value to the characters, and what will happen if that is lost? We tried to be intentional with creating highs and lows in a way that would keep the audience engaged at every moment.
For example, we started the documentary with this loud and slightly chaotic intro, only to go immediately into a scene that shows the quaintness of everyday life in this small Northeastern town. We really wanted to grab the viewer, and then kind of pull the rug out from under them to really hook them. It goes without saying, but music is a very important tool for eliciting feelings from the audience. You want that to be organic, and music really helped underscore certain feelings and moments in our documentary. While working on this edit, we found that just fading in and out from song to song wasn’t exactly the strongest storytelling device for transitioning from scene to scene, so we used natural sounds and effects to transition between “vibes.”
Challenges
With any behemoth editing project, there are bound to be challenges - and this project was no exception. Post-production ended up taking about 5 weeks total, from first offloading the footage to creating a cut that we sent to the client. And that’s not including additional time for the final sound mix and color grade!
Let’s talk about the revision process- the first thing we showed our Creative Director Lance was a Story Assembly that was roughly 17 minutes long. From there, we met once or twice a week so Lance could watch the edit and give feedback about what was and wasn’t working. As the assemblies became roughs and the roughs became cuts, our President Luke joined our meetings and gave feedback as well. The discussions ranged from “this song isn’t working here,” or “that scene transition was really rough” to “the point he’s making is irrelevant, take this entire section out,” so it really was a collaborative effort to shape this into something we could all be proud of.
But feedback can be tough- there were definitely things we didn’t agree on, and it’s tough knowing that your edit that you worked so hard on just isn’t as strong as it could be yet. You really have to step back, take yourself out of it, and think about what is best for the video in terms of making something that is visually and emotionally captivating in every way. More often than not, real honest feedback is what takes the video to the next level.
Wrapping Up
We’re sure you’ve been faced with this thought during one of your projects:
“Oh my god, what even is this? What is this video? What is the point of this video? Will anyone even watch this?”
You’re gripped with fear and stress because you can’t make sense of the plot, it’s a jumbled mess, nothing is flowing, none of the subjects are saying things the way you want them to, and you feel like it’s never going to get finished, and even if it does, it’s gonna be a total flop anyway. We’ve all been there! This project was no different, there were plenty of days when we had no idea how or even if it was going to get done. You should know that in a documentary you will feel lost in the edit, you will wonder if any of it makes sense, and you will wish you had never even agreed to work on this project.
One thing we can promise is that the story will reveal itself to you, and something cohesive will start to come through if you are intentional about the journey that you’re trying to take the viewer on and you’re striving to represent your subjects in an honest way.
Focus on that clarity and joy you feel in the moments when you watch something back and you feel in your gut that it’s working. Keep chasing that, and the story will come through.
Still have questions? Drop us a line at info@farmore.io.